
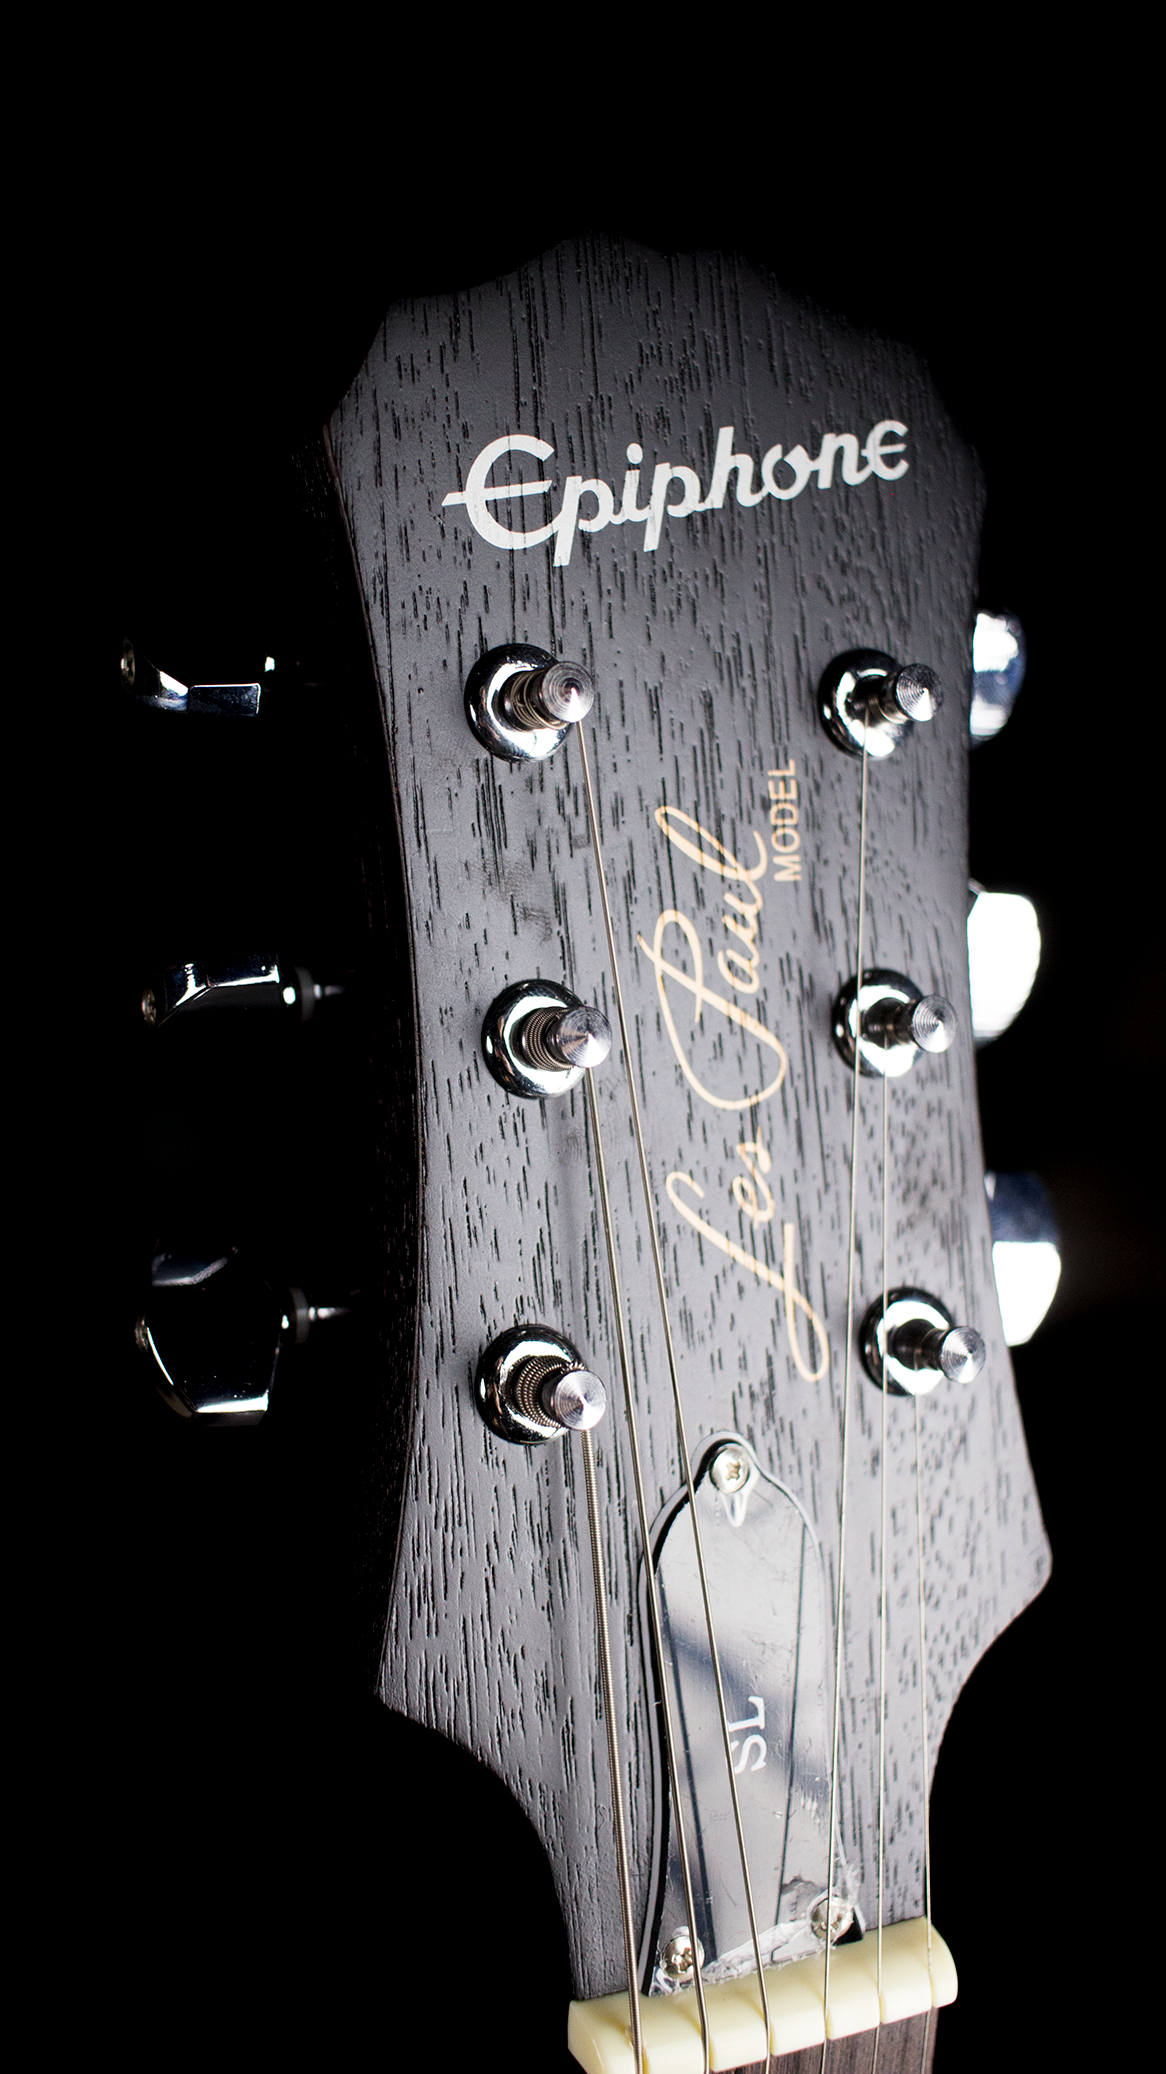
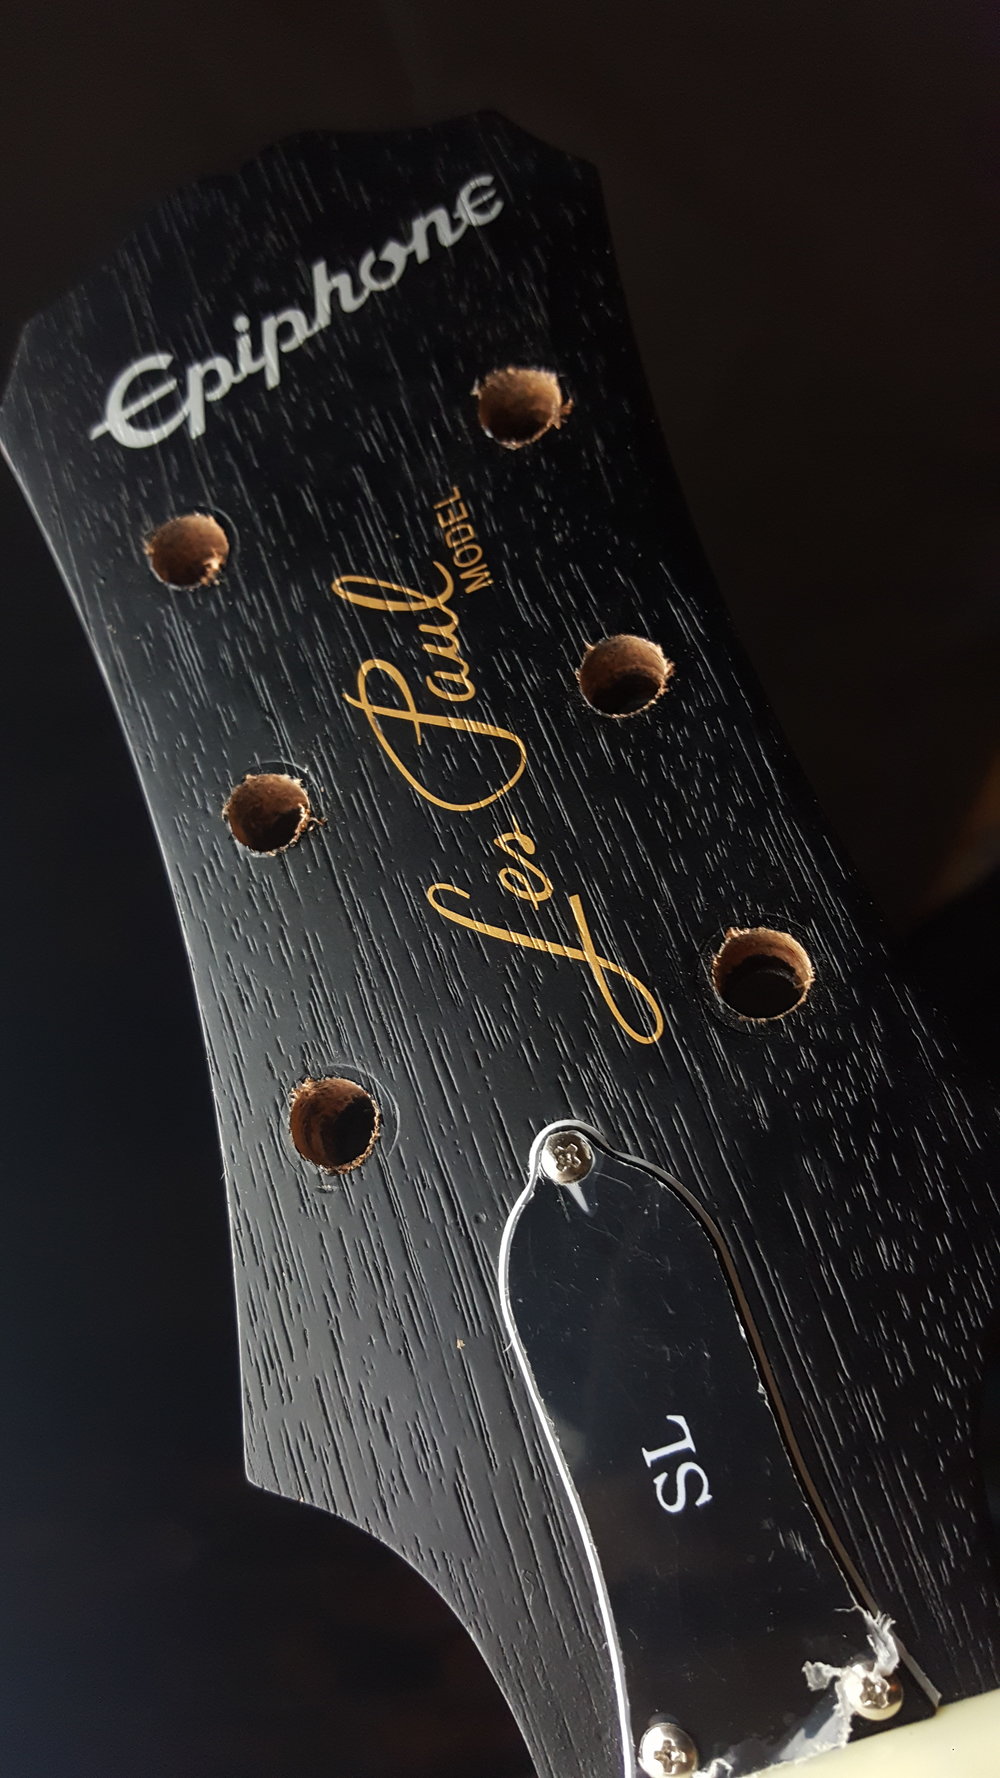
Shop Build Ep 4: Epiphone Les Paul SL
REVIEW
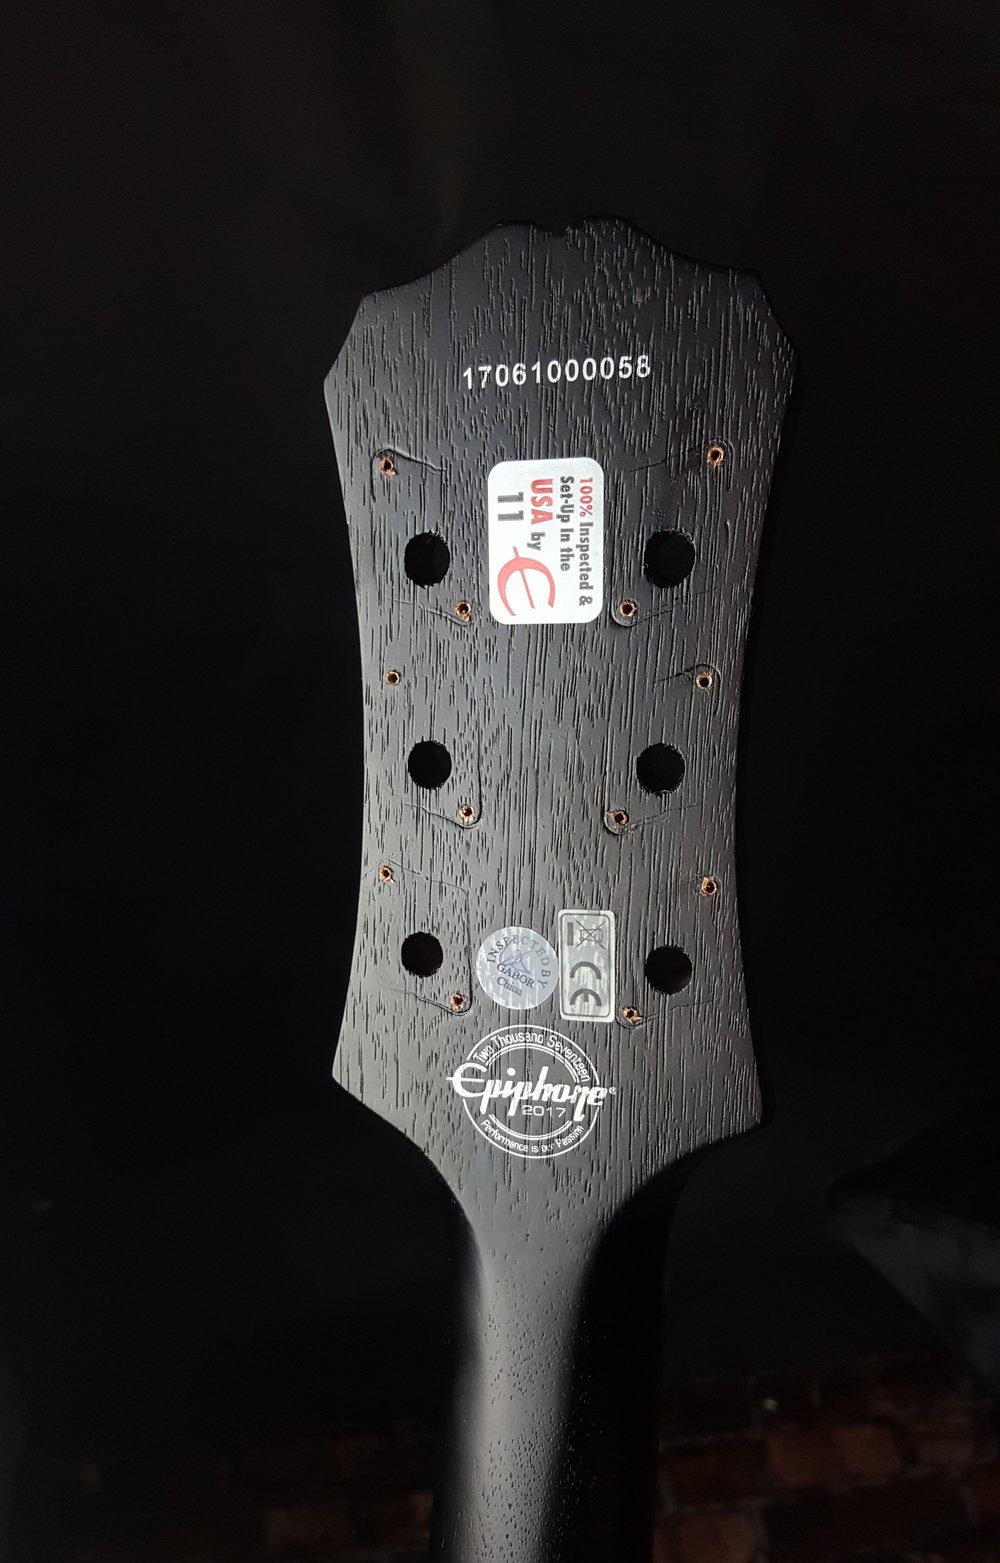
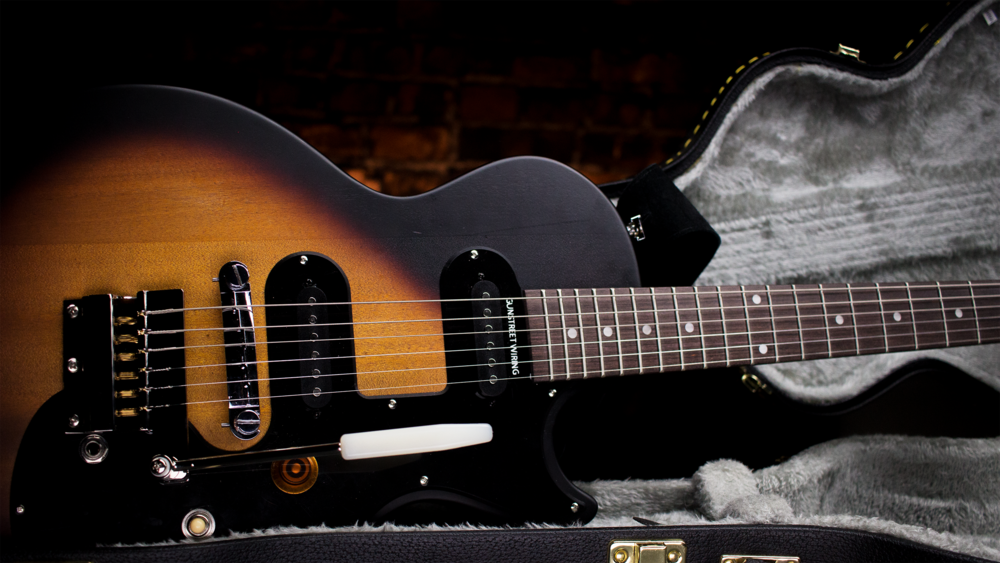
As we passed along the guitar everyone said the say things. "the look is perfect" and "I wish they had this guitar when I started to learn" as overall this guitar is killer for it money. whether we just got lucky with this guitar like we do with the unicorn sg or this is common, the guitar we got features a 3 piece body. it definetly doesn't look like poplar as is stated by Epiphone. and there isn't a mahogany veneer like others people have stated. overall this guitar is a fun guitar and will probably be a successful model for years to come.
Lets start with the good
This is an amazing guitar, if this is your first guitar or you need a simple working horse guitar for live shows this a cheap go to. It's simple, to the point, and for cheap pickups sound nice. you are going to be the next guitar hero with it? Maybe, but as is, this is a great guitar for what is truly no money.
Now the bad
When we talk about this guitar we must remember this is a $99 guitar and will have its quirks. Luckily it is minimal. First, the wiring. It isn't grounded properly. As soon as you plugged it in you can hear that distinct buzz that is only cured by you touching the metal bridge or strings. Second and last. The fret edges. Were they did roll the fretboard and when rolling your finger on the side of the fretboard you don't feel anything. It is only when you get to the top side of the frets that you feel the sharpness. I am now in visioning a young teen practicing his scales only to cut open the base of his fingers and replying "Rock'n'Roll"
Now coming from a product designing and manufacturing side. These guitar are new and are still being perfected by epiphone. all these quirks are easily fixed things that can be corrected in the manufacturing cycle.
Want to see another SL Build? Watch this video from our good friend Ryan at 60 Cycle Hum
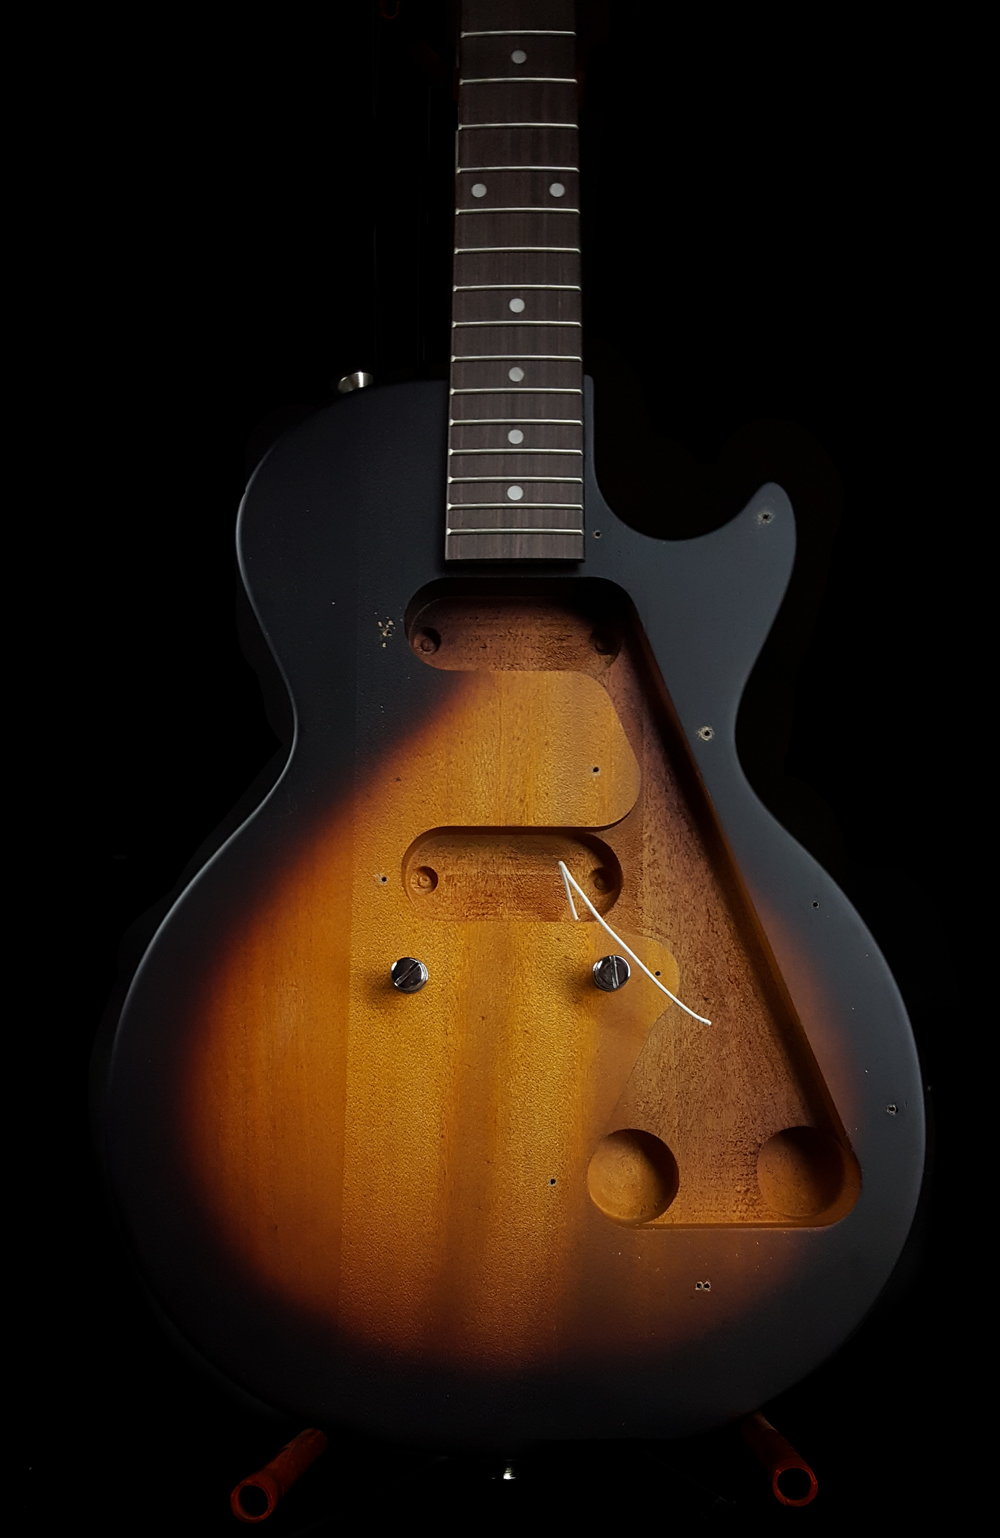
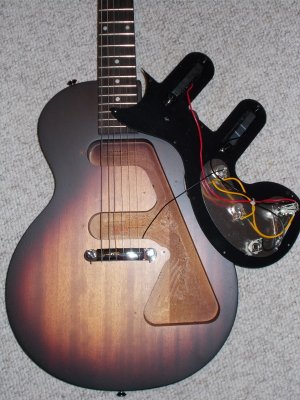
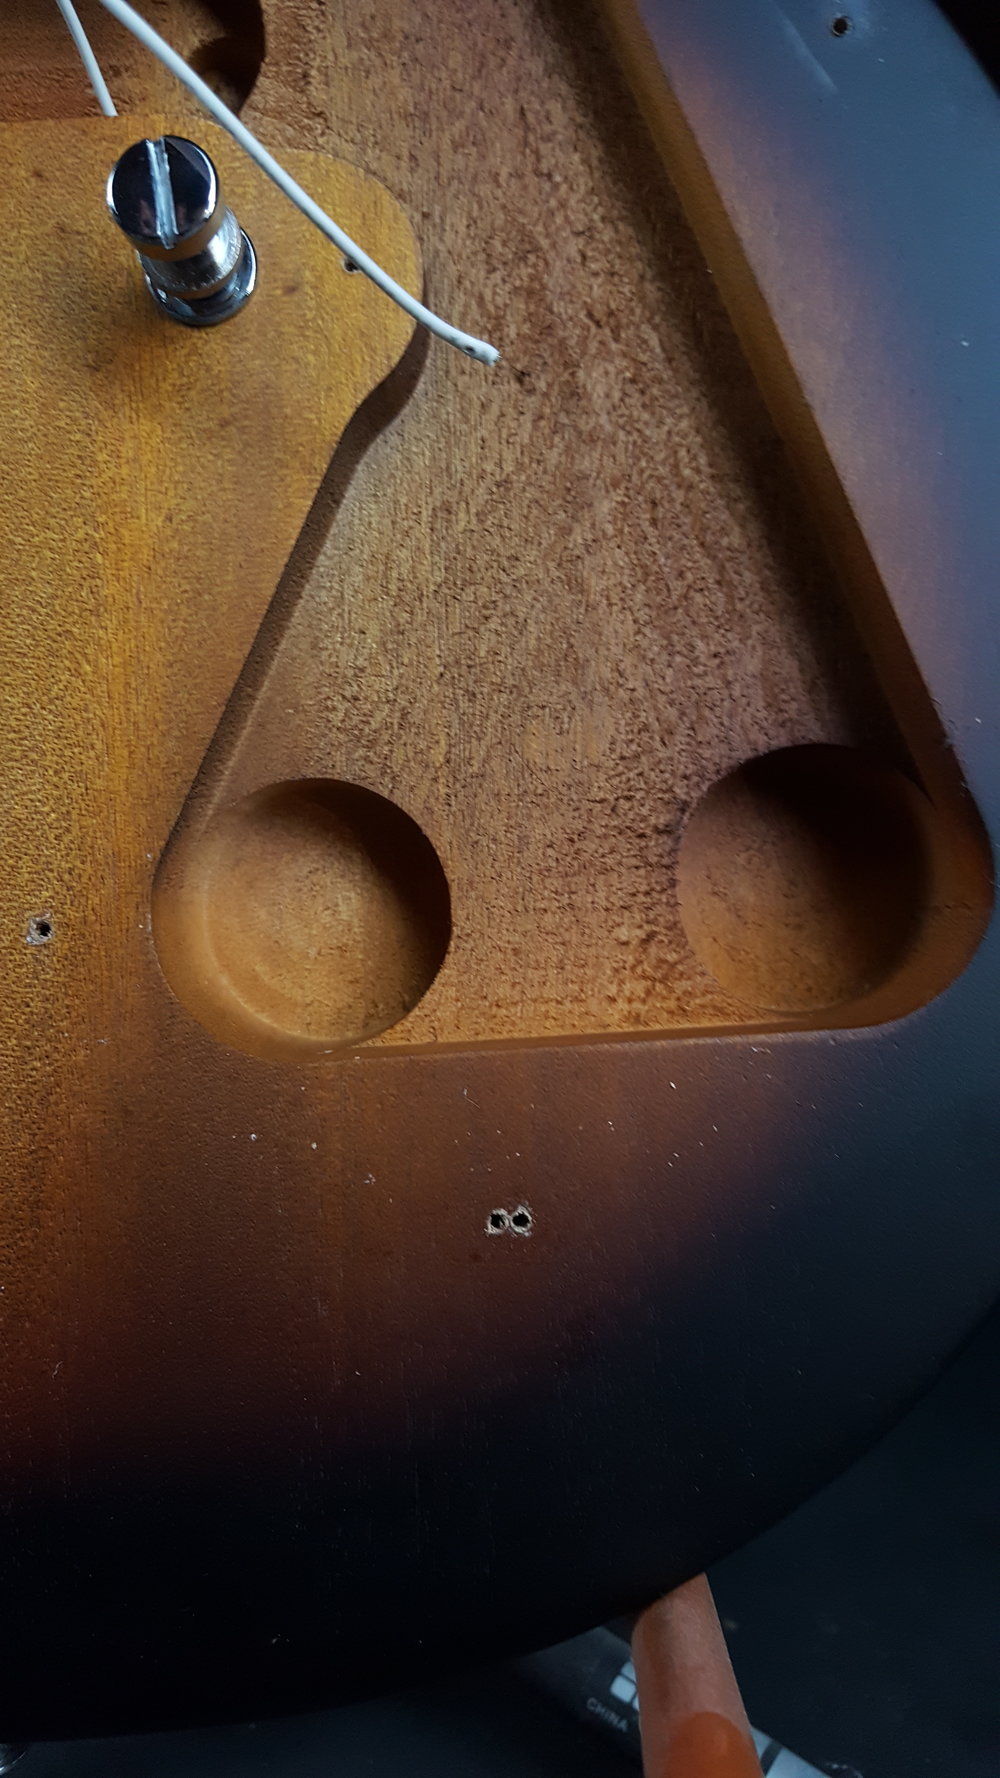
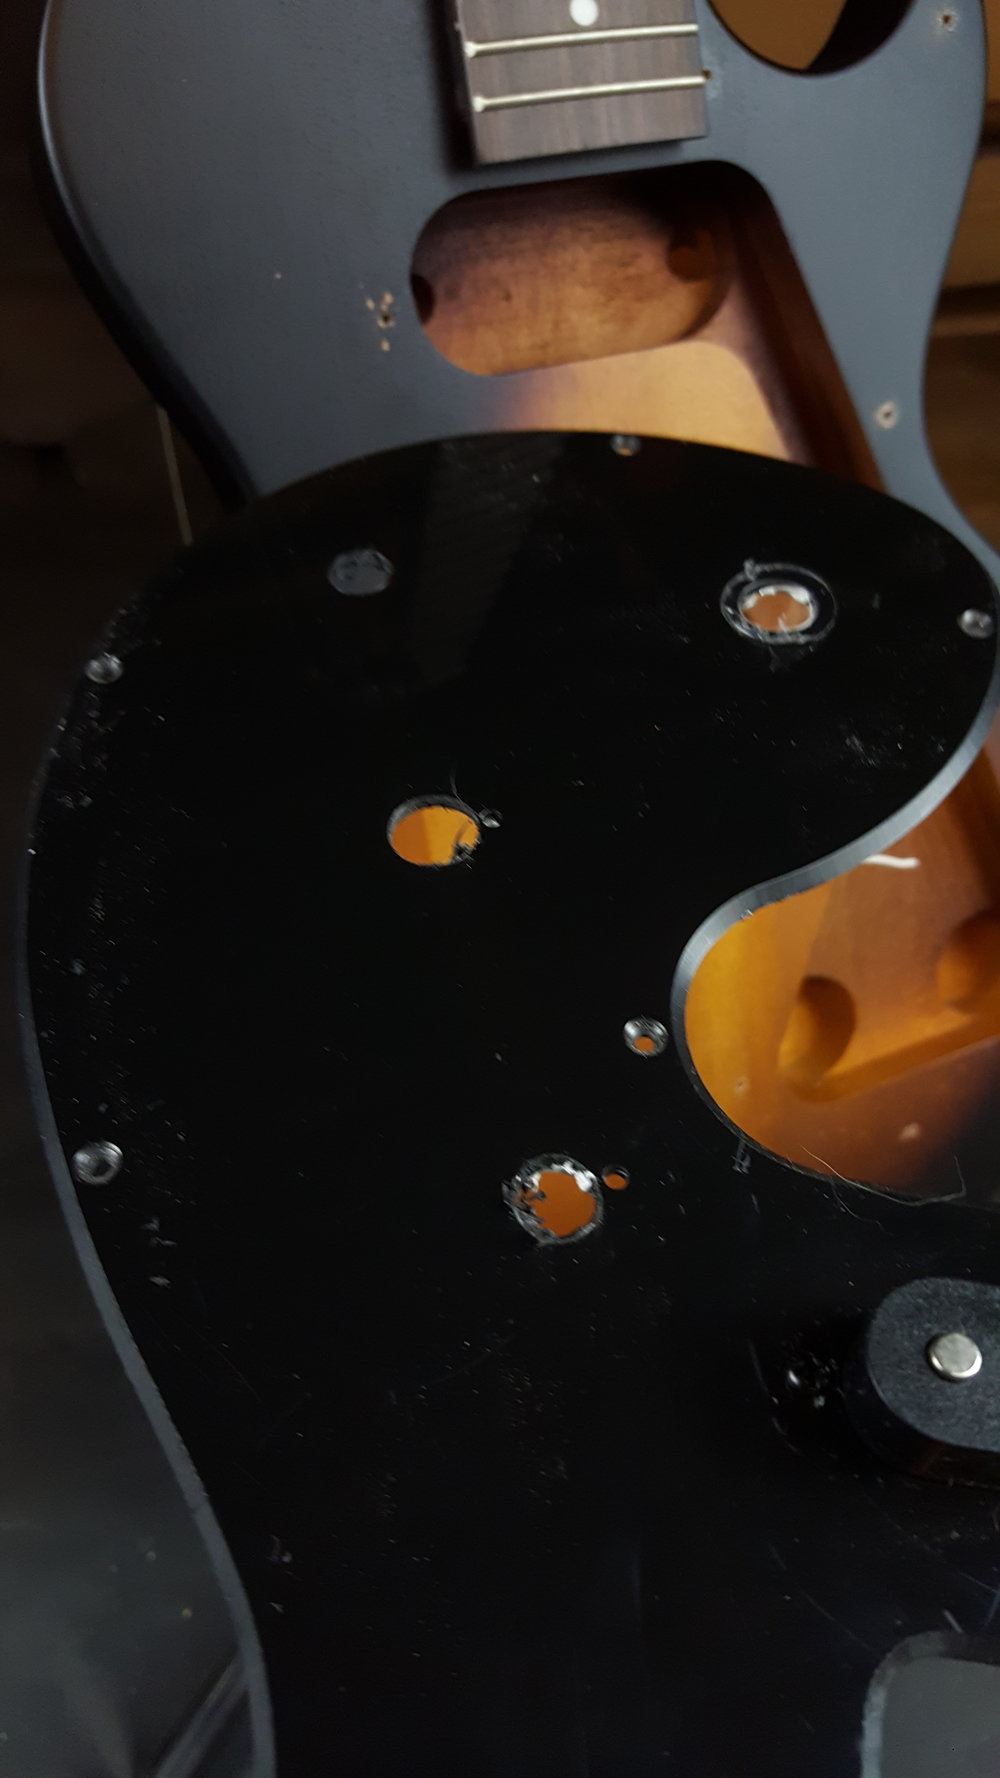
Here is 3 examples of these guitars. And how they are changing batch to batch as Epiphone perfects their manufacturing. You can find photos of other guitars that have a different control cavity, one that is deep the whole route. This latest batch is routed less to save time and machine cost.
Now why we bought this guitar.
this thing is an amazing platform to mod. whether you want to improve the guitar or practice your luthier skills this is a killer start to a project.
The Plan
We are big fans of Student model guitars. Juniors, Fender offsets, the works and having access to a vintage Melody Maker which this guitar is based off it was interesting to see the difference in quality of what would be the equivalent a starter guitar of its era. So, for this build we want to turn this guitar into what Gibson would have offered you when you bought this in 1959. Sound simple, but as always with our Gunstreet style, we will add a twist.
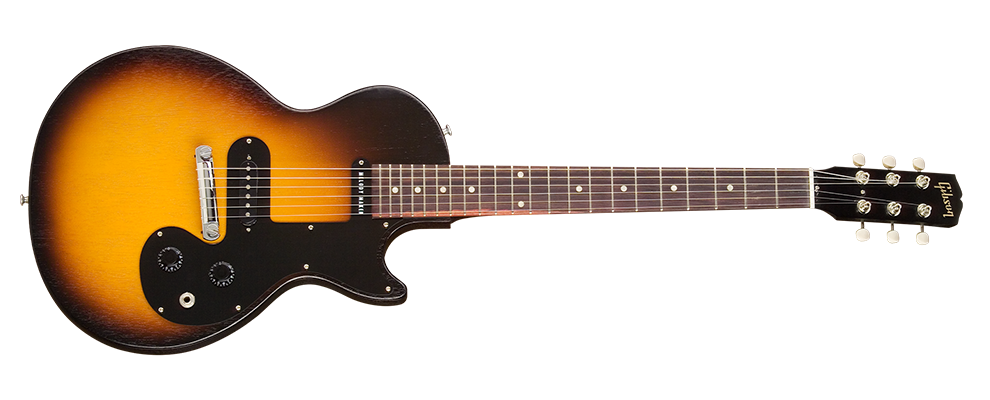
History of the Melody Maker.
Released in what is considered Gibsons "Golden Era" (1959) It was engineered to be cost effective junior as Les paul Junior were outselling most Les Paul Models. It featured a thin slab-style mahogany body and a one-piece mahogany neck and to improve the manufacturing process a pickguard that had pre-installed electronics that could be simply installed in the front of the guitar. Because of the cheap price and the insanely nice quality you got with this guitar it soon gained cult following and remained on Gibson product line from 1959-1988.
Neck Build Part 1: Assessment
First lets start with the neck, this is going to be the one part of the guitar we will spend the most time on. The action stock was set up at the 1st fret .030 on the Low E and .025 on the High E. Gibson sets the standard action at .020 plus seeing everyone talk about the epiphone sl's fret quality we were curious to see how this guitar compares. By the height of the action I am guessing not the best.
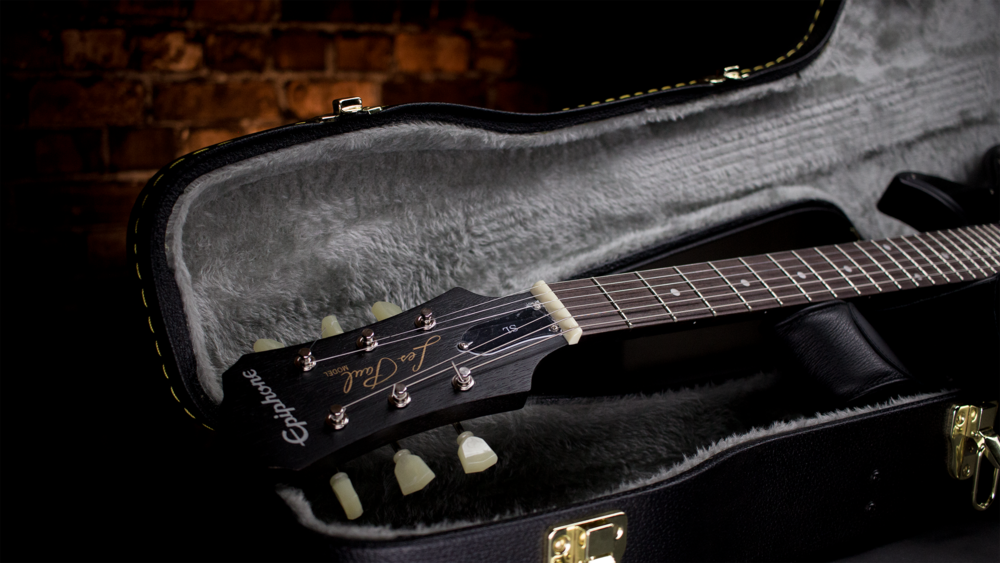
Neck Build Part 2: Tuners
This guitar features everyones favorite punching bag for crap tuners and if you have read our last shop build your know how bad they are! Original Melody Makers came stock with Kluson tuners, we picked up a set are one of our local guitar shops. In order to install these new tuners into the guitar we have to enlarger the top of the hole to fit the Klusons bushings


Neck Build Part 3: Frets
Aright, as others have said, the frets are not the best. As much as we want to make fun of how bad they are we have to remember it's a $99 guitar. The frets are all over the place height wise. Fret 1, 5,8,10,15 are low and 3,7,10,17 are sharp an the edges. We had level the frets, crown them, polish them which now done should allow us to have a nice action.


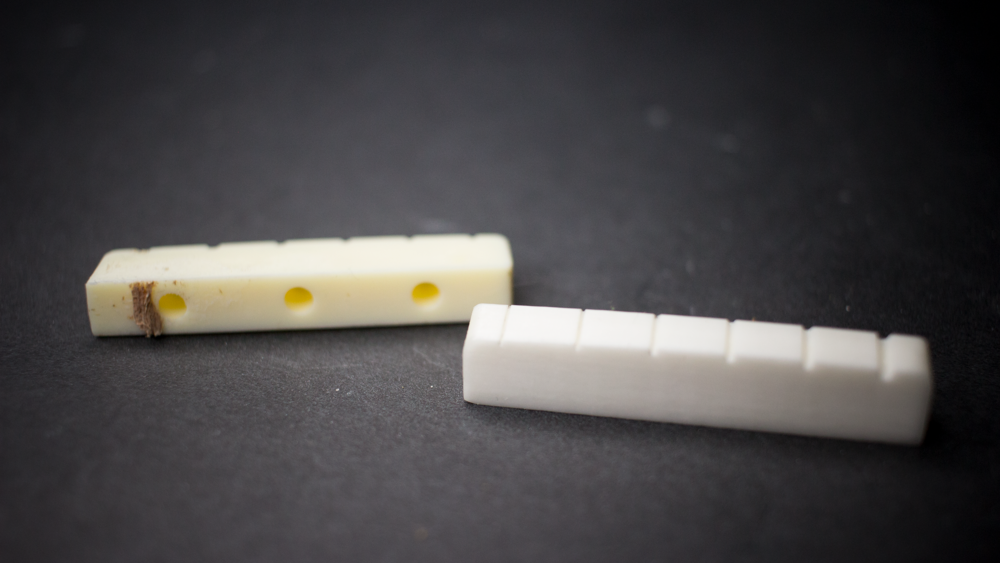
Neck Build Part 4: The Nut
The guitar features what epiphone call's "synthetic bone" it looks and feels like a normal plastic nut. So, instead of synthetic bone we are going to replace it with a real bone nut just like what you would of found on a original Melody Maker. We want to stay close to vintage when it comes to action height so we are going to set the height a stock Gibson.

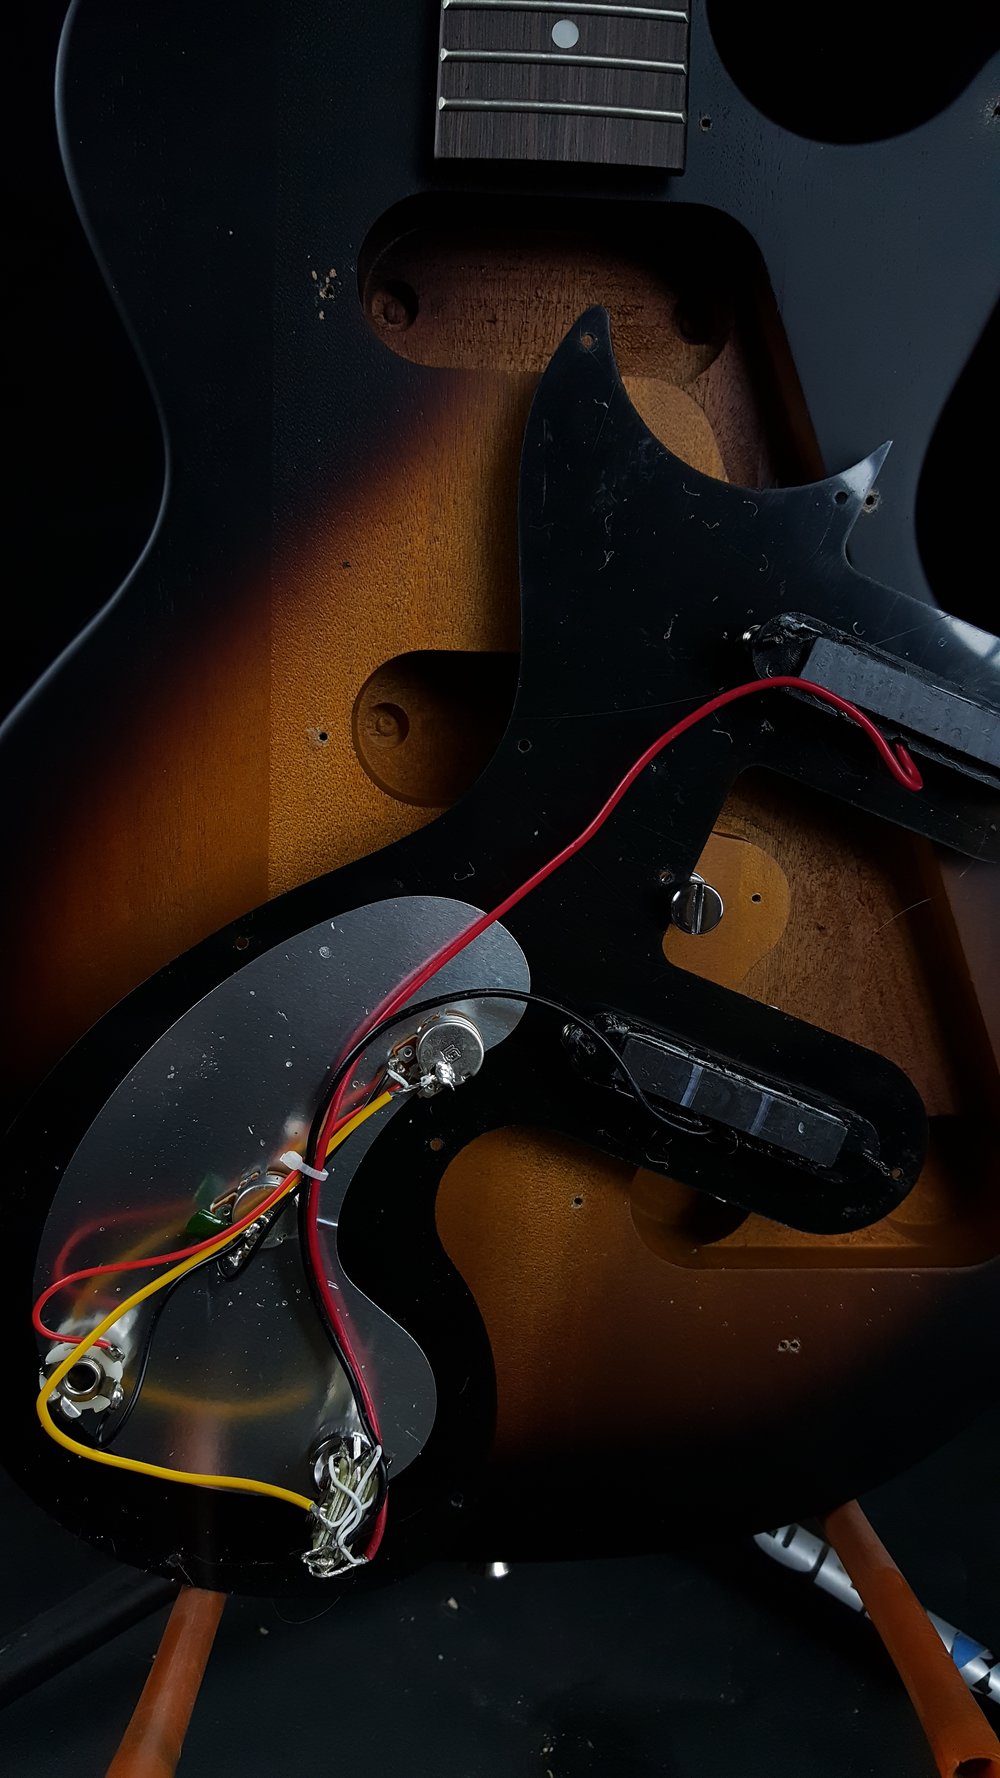
Electronics Build Part 1: The Harness
Well the stock wiring was bad. besides the fact that it wasn't grounded from pot to pot. the tiny pots and tic tac capacitor were chocking the pickups. this is the part of the build we will have fun with. Were normally we would change both the pickups and harness this build we will be just replacing the harness and modding the pickup. the plan with this harness is to do 2 of our favorite mods. Phase and parallel.
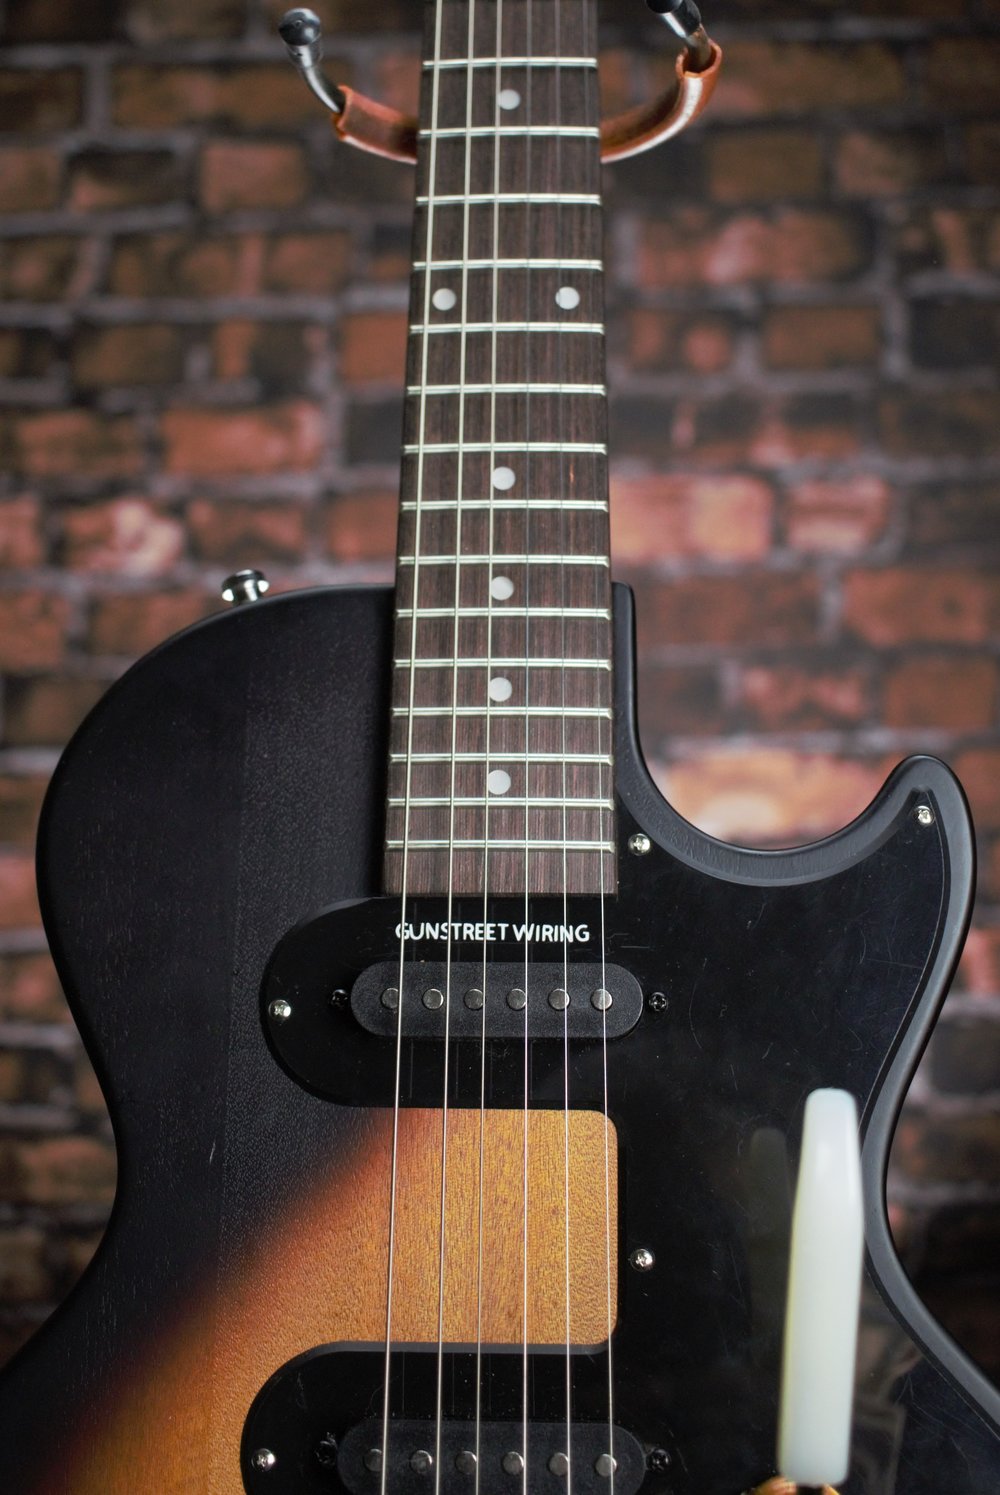
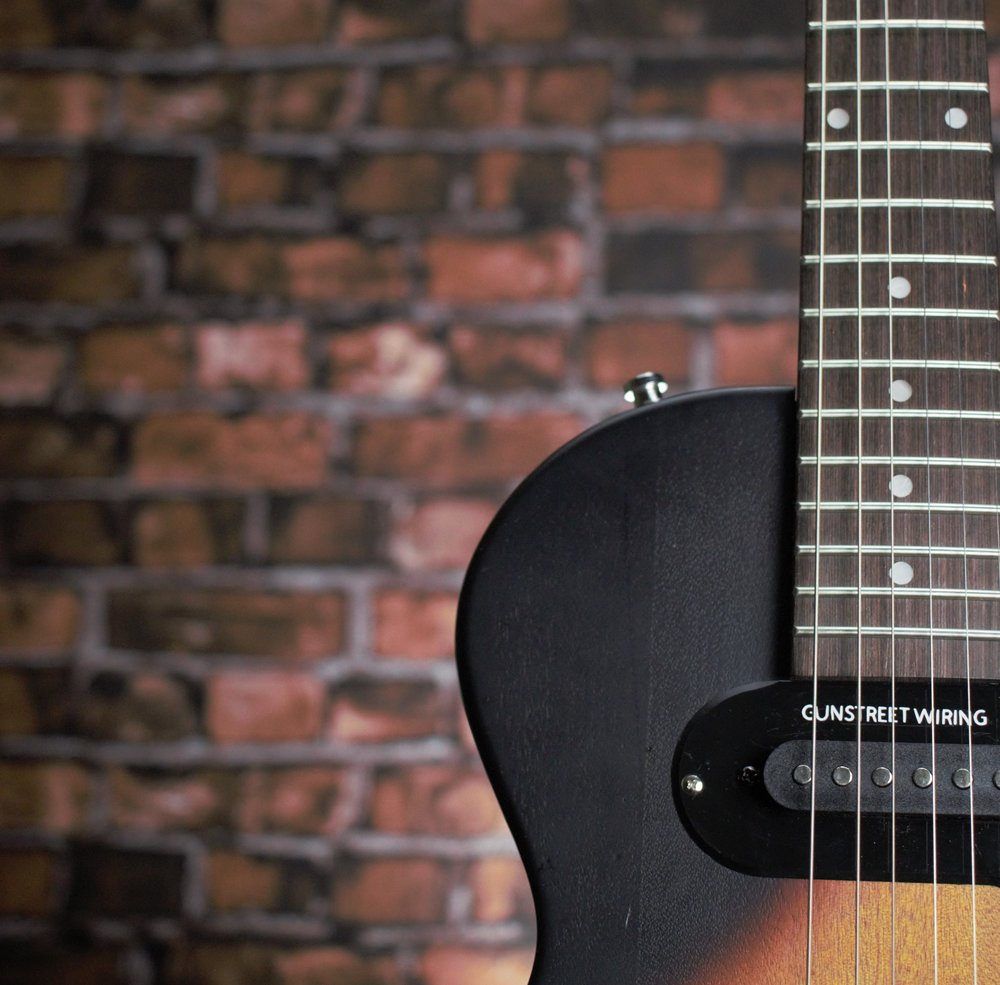
Vintage Touch 3:Pickguard name sticker
To us there is truly one thing that makes the Melody Makers look. The pickguards name. Usually locate above the neck pickup this sticker instantly identifies the guitar no more what else has been changed, So, with that we are going to do it on our guitar but with a Gunstreet twist!
Electronics Build Part 2: Making the Harness
Where there is enough room in the cavity to add more controls we love the idea of sleeper harnesses. This harness we will be using everyones favorite brand bourns. The stock wiring featured 250k but with this new set up we will be using 500k pots to give it wider spectrum which paired with the phase and parallel will sound awesome.
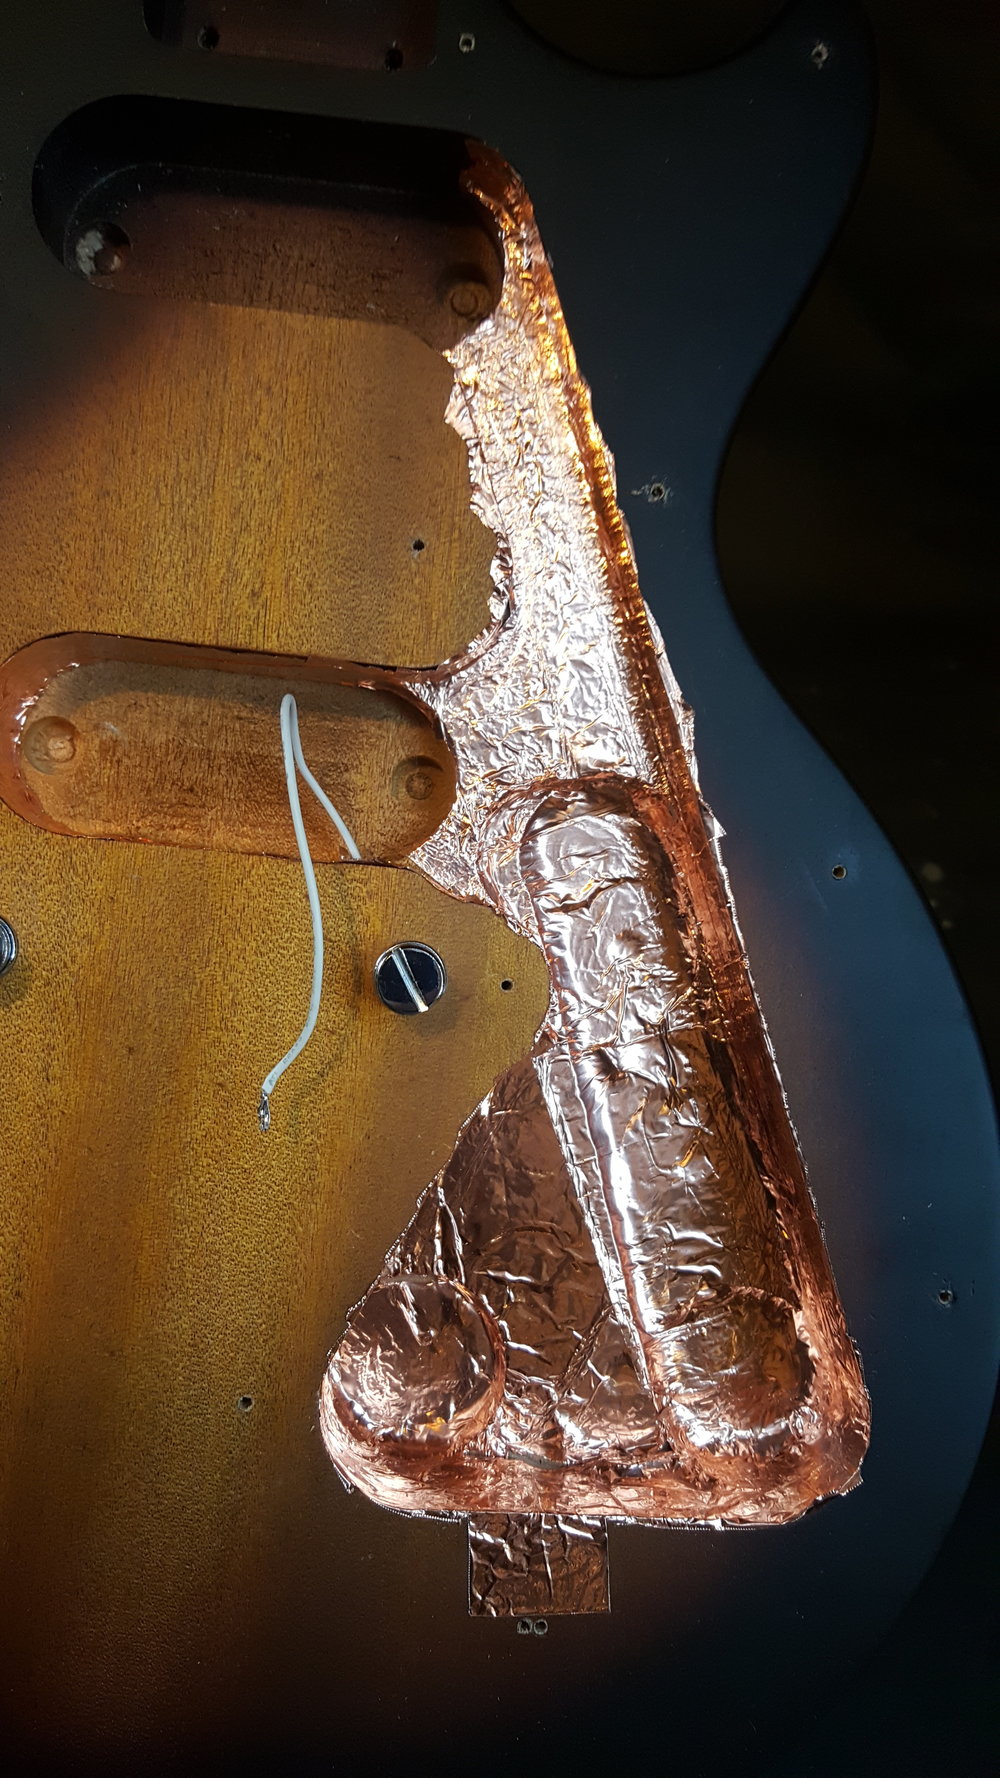
Electronics Part 3: Cavity Modding and Shielding
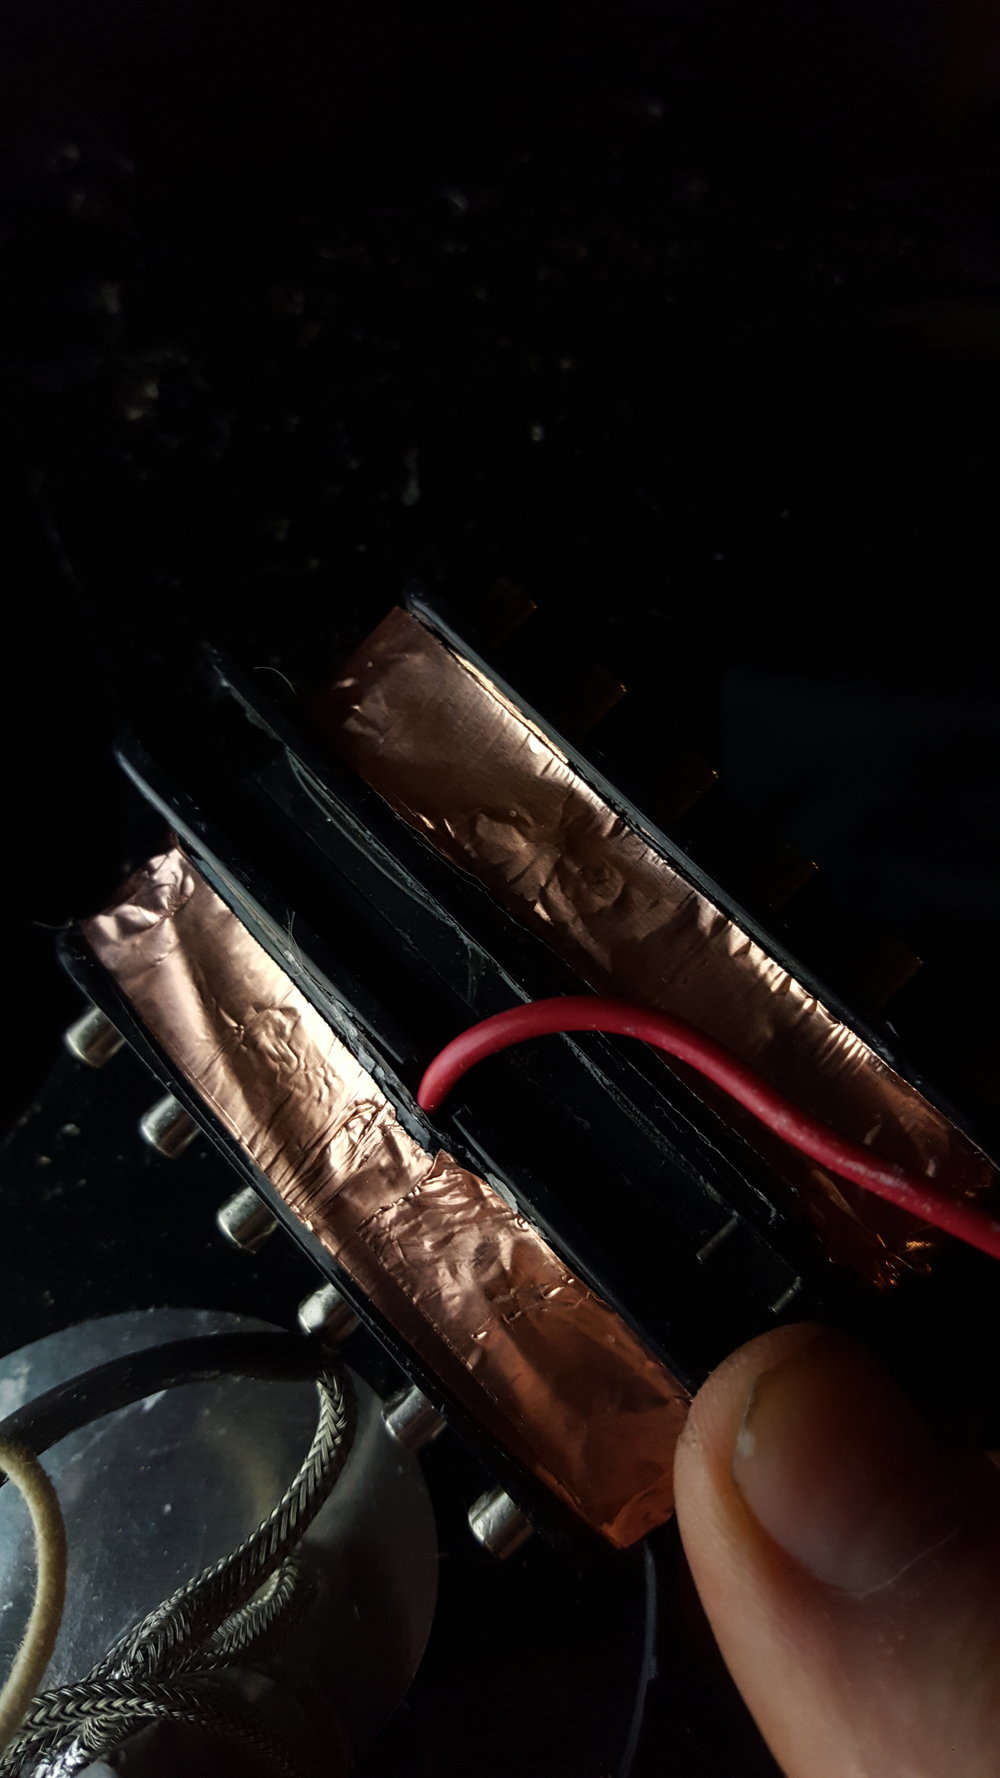
To install the push pulls we had to deepin the cavity. after we do that we will shield the cavity with copper tape. The goal with shielding is to create a faraday cage because with this style of harness it is super prone to electronic interference. we will also be shielding the pickup by wrapping the coil with copper and soldering a grounded wire on it. We will also change the layout to fit our needs


Read more
Shop Build Ep.3: $99 Squier Sleeper Build
In preparation for our new Metric Strat Wiring launch, we need to build a demo guitar, and in our general rhetoric we are going to have fun. We will take a $99 Squier and upgrade bullet to be as go...
Read more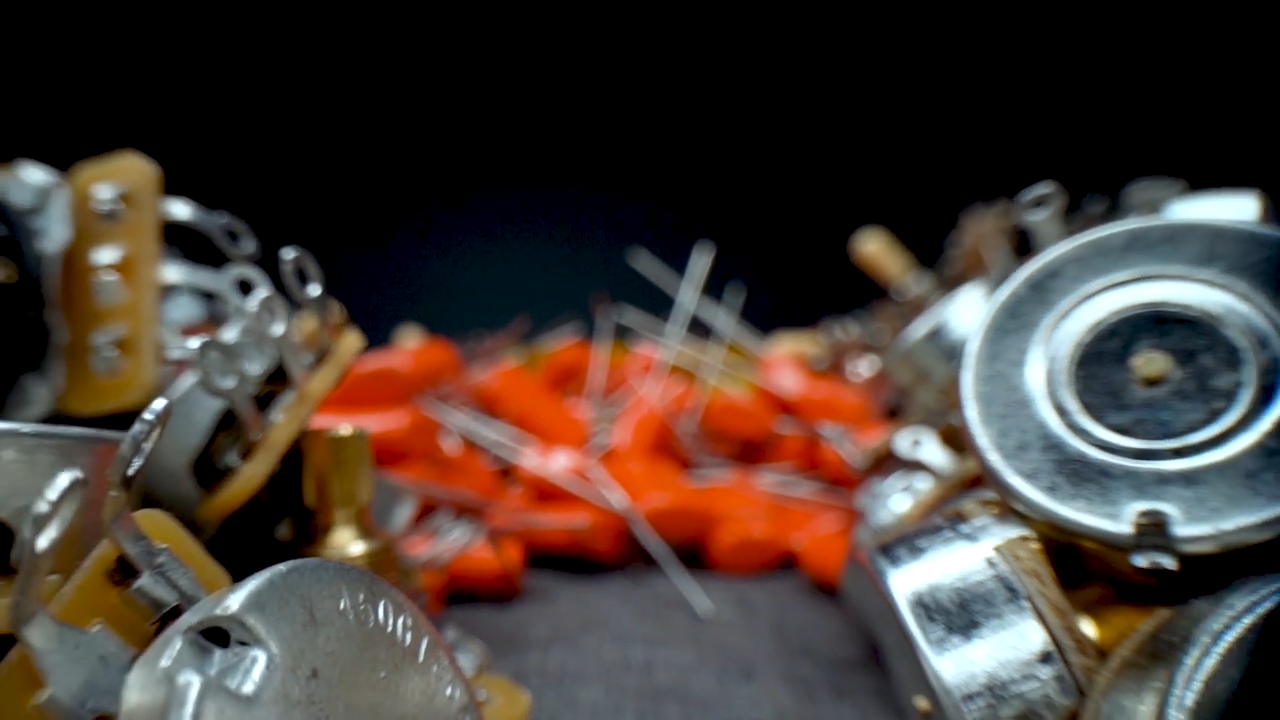
5 Myths You May Believe About Guitar Wiring
Sean has been obsessed with circuit designing for over 18 years, He is the go-to for crazy designs and has made tens of thousands of kits for people, including some very high-profile musicians, and...
Read more
Leave a comment
This site is protected by reCAPTCHA and the Google Privacy Policy and Terms of Service apply.